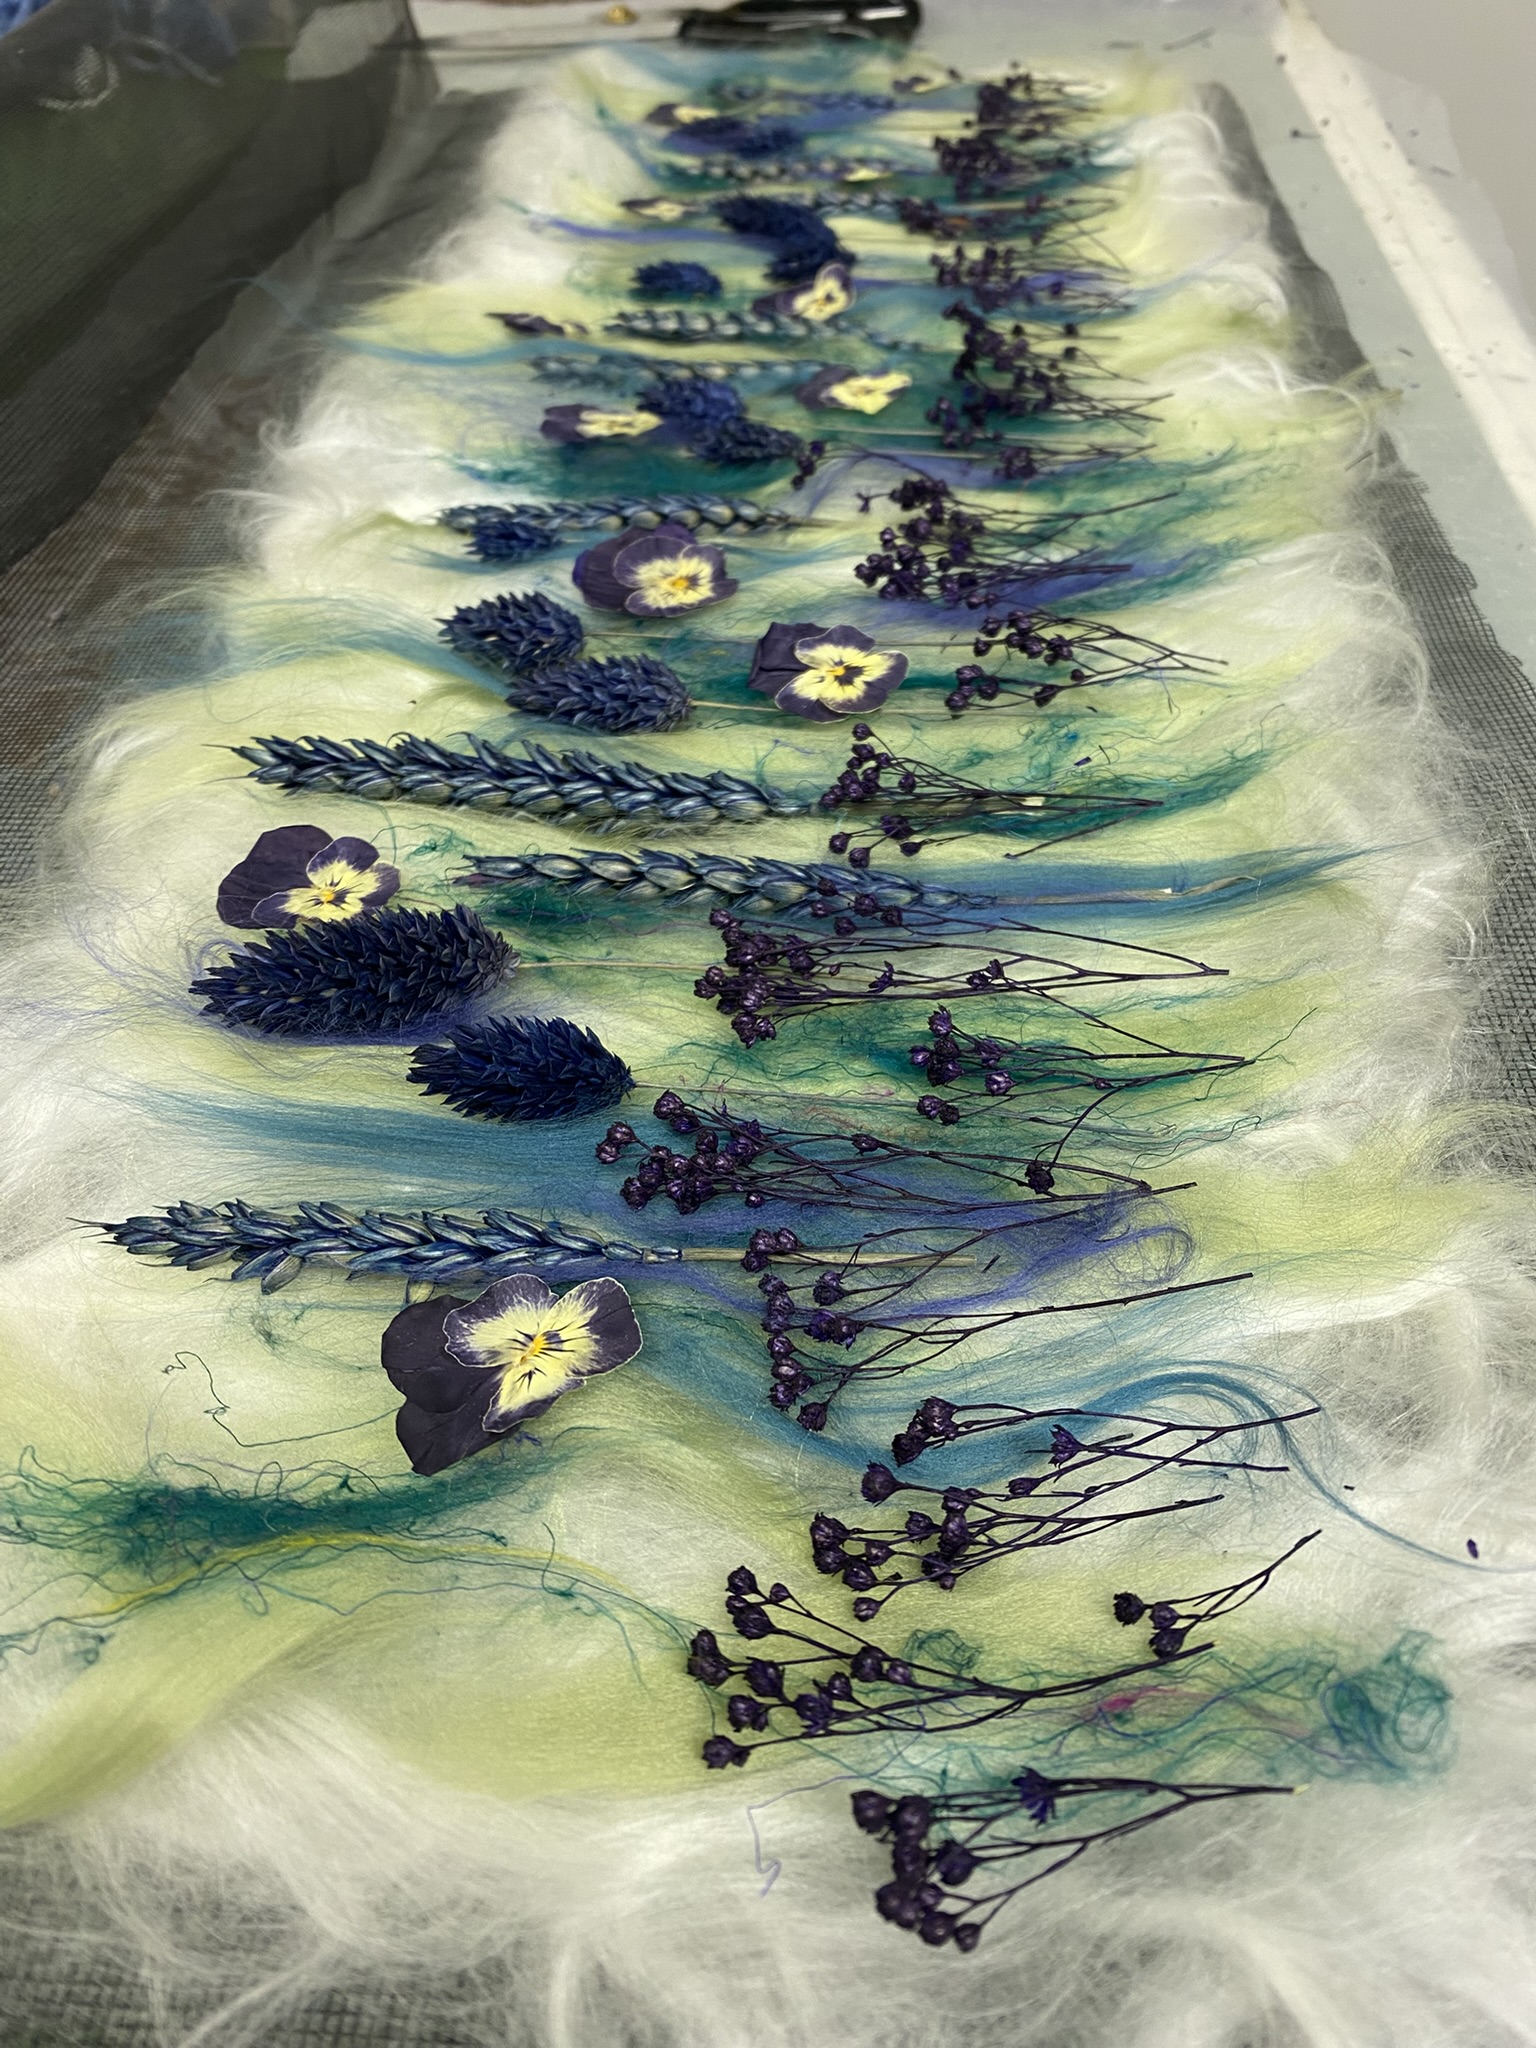
Floral Fibre Fusion: How to Embed Dried Flowers in Plant Fibre Paper
There is something deeply poetic about capturing a moment in a garden and preserving it permanently inside a sheet of handmade paper. For centuries, botanical inclusions have been used to add texture and organic beauty to papermaking.
However, when you combine pressed flowers with the fibre fusion techniqueusing 100% plant fibres (like bamboo, flax, or cotton), the process transforms into an entirely new medium.
In my studio practice at Wendy Ann Stanger Blooming Fibres, I call this process floral fibre fusion. It is a delicate dance between the natural structure of the plant roving and the fragile geometry of the dried blooms. Over the years, I’ve refined a signature method that ensures your flowers stay vibrant, secure, and seamlessly integrated into the paper matrix.
If you are looking to create unique, botanical textile art, here are my top professional secrets for embedding dried flowers into handmade plant-fibre paper.
Secret 1: The Magic of the "Watercolour Bleed"
One of the most unexpected and breathtaking elements of working with fresh or dried botanicals in a liquid cellulose matrix is how the moisture coaxes out the plant's natural pigments.
As the wet cellulose paste saturates the layout, it gently hydrates the petals. Highly pigmented flowers—like deep red rose petals, cornflowers, or pansies—will often deliberately "bleed" a tiny amount of their natural dye into the surrounding white or translucent plant fibres.
This creates a gorgeous, soft watercolour halo effect radiating outwards from the bloom. Rather than looking like a flower stuck onto a page, the bloom becomes an organic extension of the paper itself.
Secret 2: Avoid the "Sticker Effect" with the Veil Technique
The most common mistake beginners make when trying fibre fusion with flowers is simply placing the blooms flat on top of their vertical and horizontal fibre layers, soaking it in paste, and letting it dry.
When you do this, the slick surface of the flower petals doesn't always bond with the underlying fibres. Once dry, the mesh is peeled away, and the flowers can pop off like stiff stickers.
To prevent this, I use my signature "veil" layering technique:
- Lay down your base: Arrange your horizontal and vertical plant fibre layers onto your bottom nylon netting.
- Compose your garden: Gently lay your pressed flowers, ferns, or skeleton leaves onto the fibre bed exactly where you want them.
- Spin the veil: Tease out an ultra-thin, gossamer-thin, almost invisible cloud of your base plant fibre (bamboo or cotton top works beautifully for this). Lay this whisper-thin layer directly over your arranged flowers.
- The Result: The flower remains completely visible, but that microscopic top layer of fibre acts as a structural safety net. It wraps around the edges of the petals, permanently trapping the botanical elements inside the paper matrix.
Secret 3: Sponge Wisely Around Dimensions
While flat-pressed flowers are the easiest to work with, you can absolutely use textured botanicals like whole lavender buds or loose delphinium petals.
The secret to success with dimensional inclusions lies in the squeegee step. When you place your top nylon netting down and apply your clear cellulose paste, take a dense sponge and press straight down with extra firm pressure right around the contours of the flowers. This forces the paste to seal the surrounding plant fibres tightly against the flower boundaries, eliminating any trapped air bubbles where mold could form or the paper could weaken.
See the Fusion in Action
Every plant fibre—from crisp linen to cloud-like bamboo—reacts differently to botanicals, and half the joy of the craft is watching those natural watercolour halos form as your sheets dry.
If you would like to explore this mesmerizing technique in a supportive, creative space, I invite you to join me for a hands-on experience. I teach dedicated Floral Fibre Fusion and Flower Inclusion Workshops directly from my studio at Farfield Mill on the Cumbria/Yorkshire border, as well as live, interactive online workshops for makers across the globe. Together, we look at layout composition, colour bleeding, and how to finish your pieces with beautiful free-motion machine embroidery.
Explore upcoming workshop dates and reserve your space here!